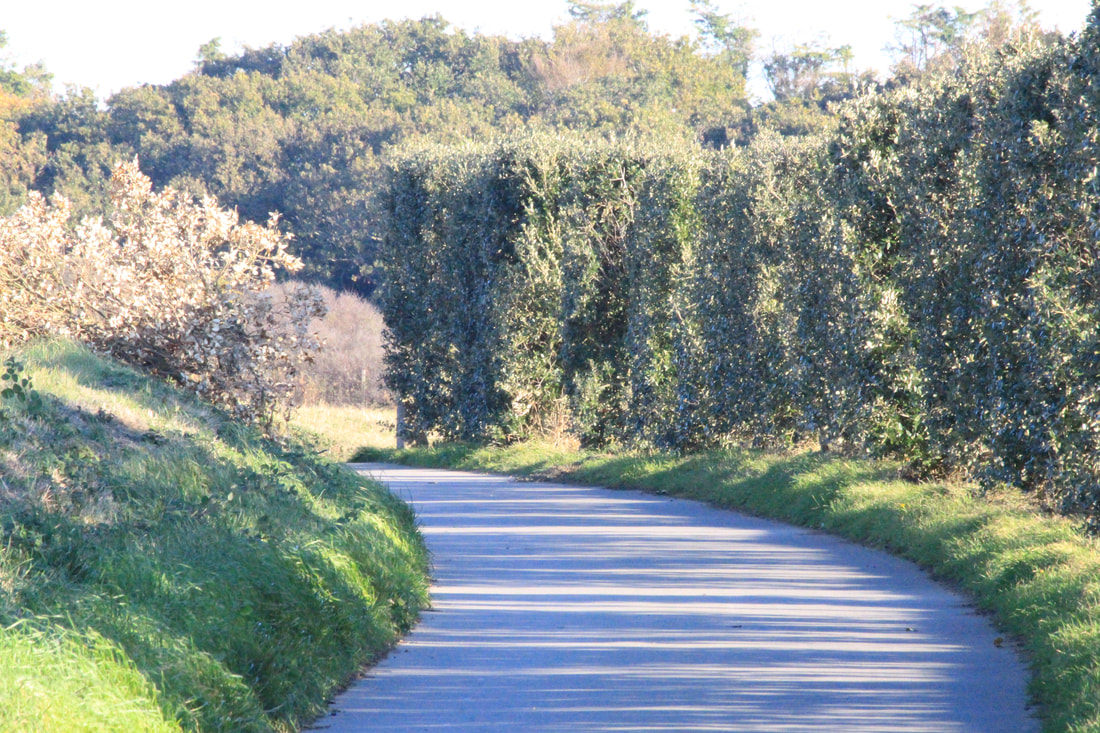
Find a scene that has depth. From a fixed position, take a sequence of five or six shots at different focal lengths without changing your viewpoint
Starting Approach
I started off by reading the relevant sections in Langford's Basic Photography and trying to get my head around focal length, perspective, aperture and depth of field. I wanted to fully understand all the concepts being introduced, rather than approaching each exercise within part two and the concept it related to individually.
My initial thoughts was that I would find this exercise one of the hardest, primarily as I was focussed purely on the example photos provided in the course notes. My tired mind was closed and I was unable to think outside of the box resulting in me thinking "we have no cloistered walkways in Jersey, what am I going to use as a substitute". Then when I was striding around the north coast on a Saturday afternoon filled with hazy autumnal sunshine and a cold fresh wind making its presence felt, the lightbulb finally dawned. I recalled the series of pictures within Langfords showing the same scene taken using different focal length lenses and the blinkers came off and away I went.
For all of the exercises in Part Two I took the following course note comment to heart:
"...take some time with the exercises below. Becoming fluent with lens techniques is just a matter of practice. You're aiming to achieve a certain level of master over the lens in order to be able to successfully realise your ideas later on."
I travelled with someone who explained how their husband when teaching himself photography would take the same photo many different times, each with a different setting, so that he could understand what each of them did and the impact they had. I have never done this and I viewed Part Two as my opportunity to take my time and learn. Que many many photos.
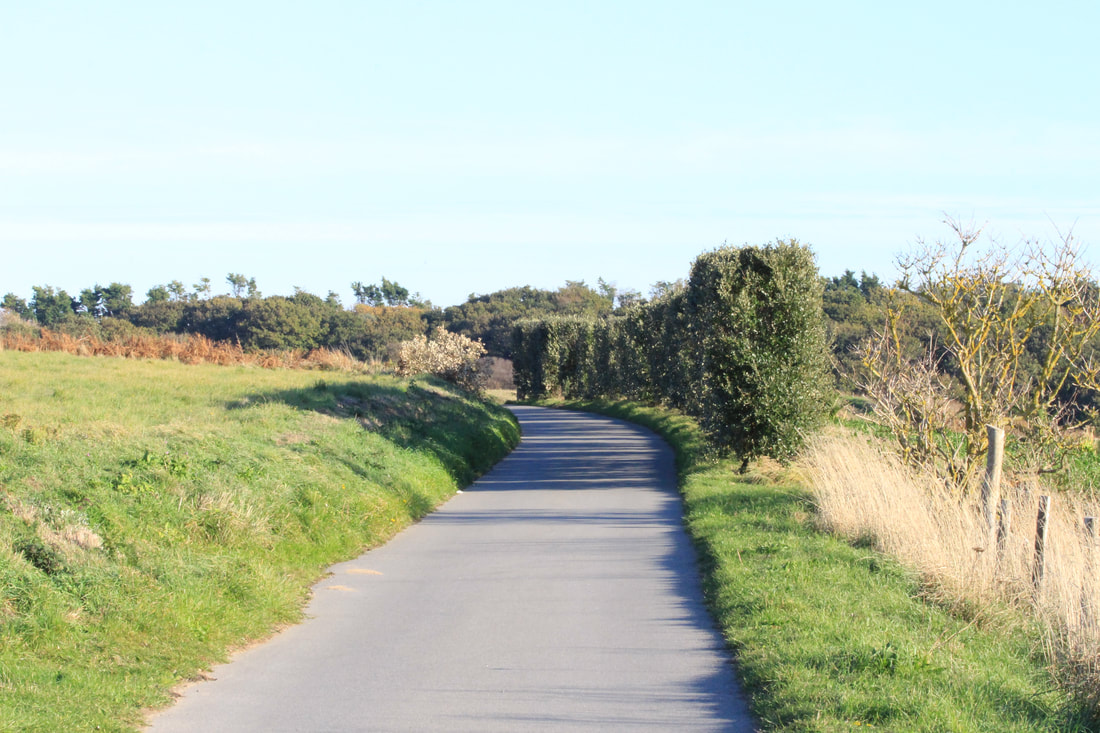
Set One
|
Picture 1
f stop: f/29 Exposure: 1/125 ISO: 1600 Focal length: 70 Picture 2 f stop: f/29 Exposure: 1/125 ISO: 2000 Focal length: 100 Picture 3 f stop: f/29 Exposure: 1/200 ISO: 4000 Focal length: 135 Picture 4 f stop: f/29 Exposure: 1/250 ISO: 6400 Focal length: 200 Picture 5 f stop: f/29 Exposure: 1/200 ISO: 6400 Focal length: 280 |
Review
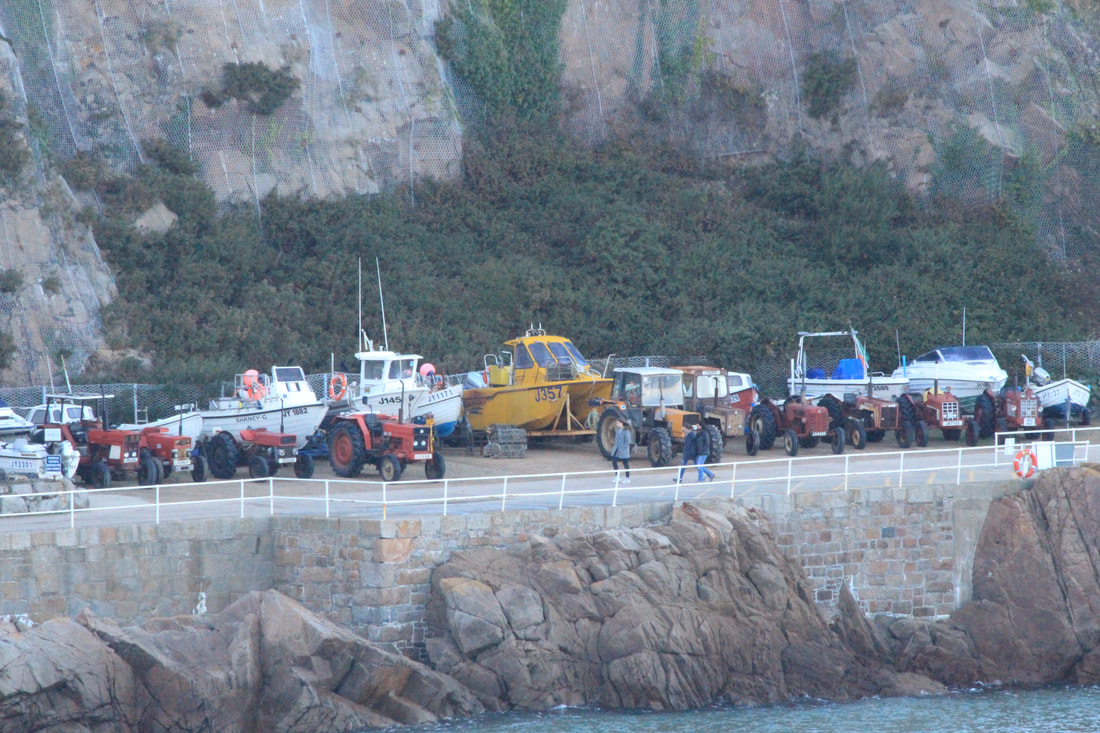
This was the starting point. Not the best executed in respect of consistency of framing. All the pictures have a slight blur to them, especially in Picture 4. I think this is a combination of a high f stop, the wind and not using a tripod. Pictures 4 and 5 are also very overexposed.
This was the starting point. Not the best executed in respect of consistency of framing. All the pictures have a slight blur to them, especially in Picture 4. I think this is a combination of a high f stop, the wind and not using a tripod. Pictures 4 and 5 are also very overexposed.
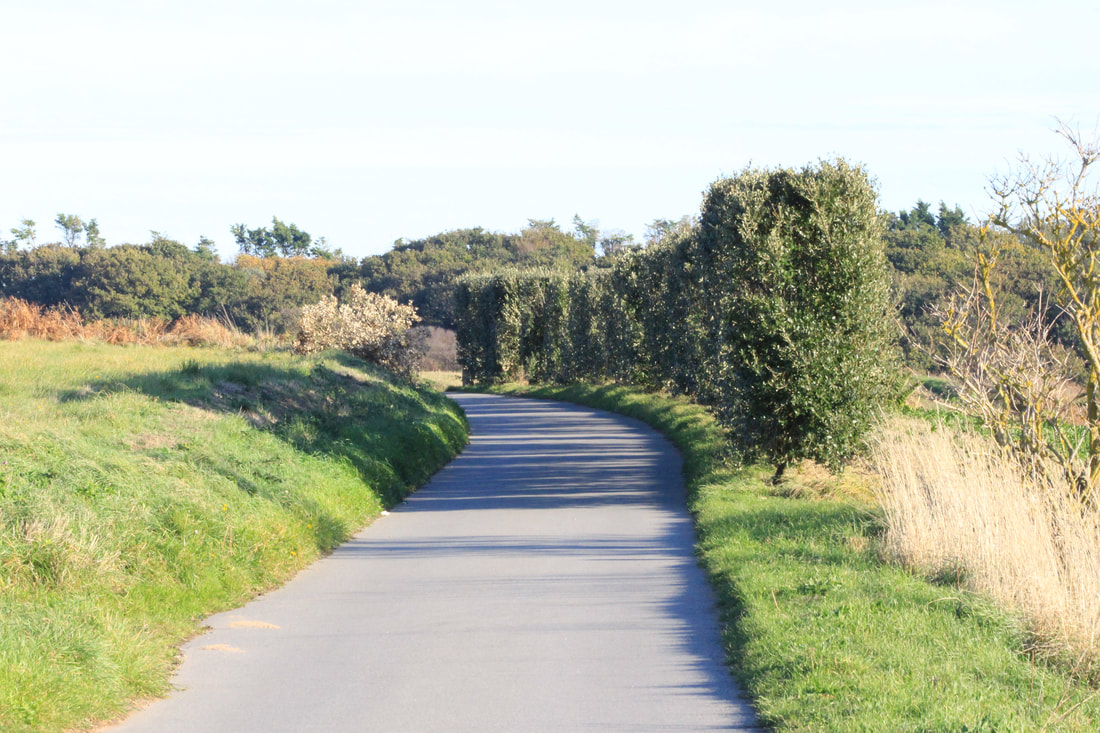
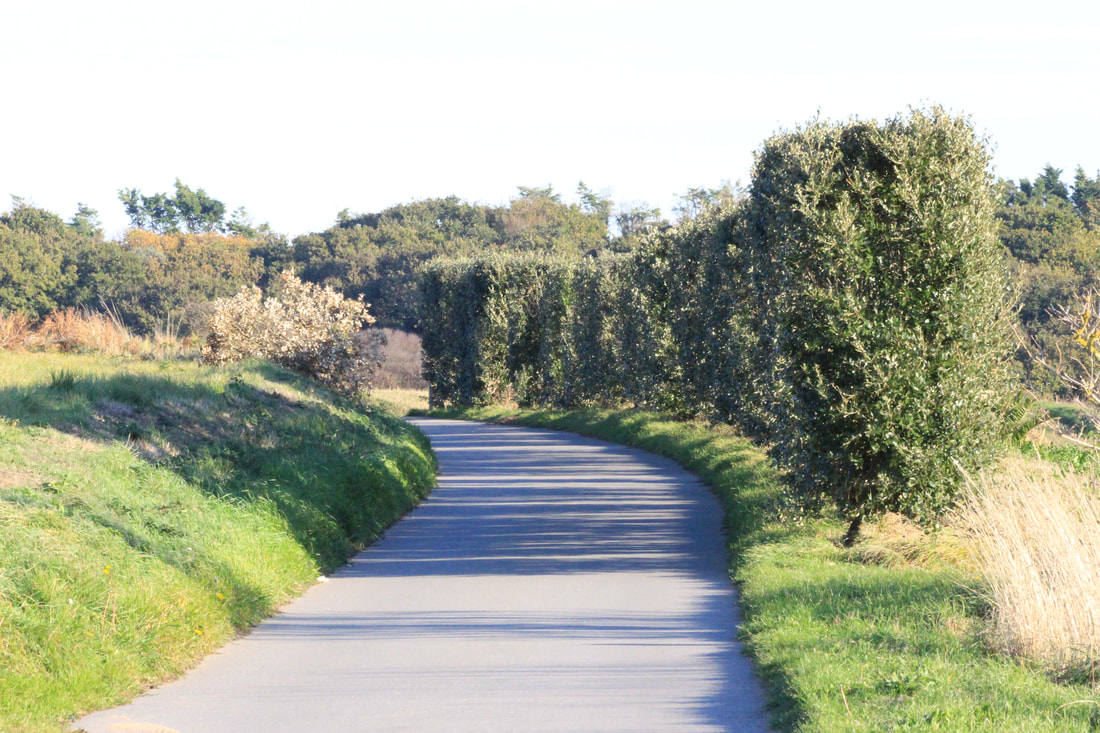
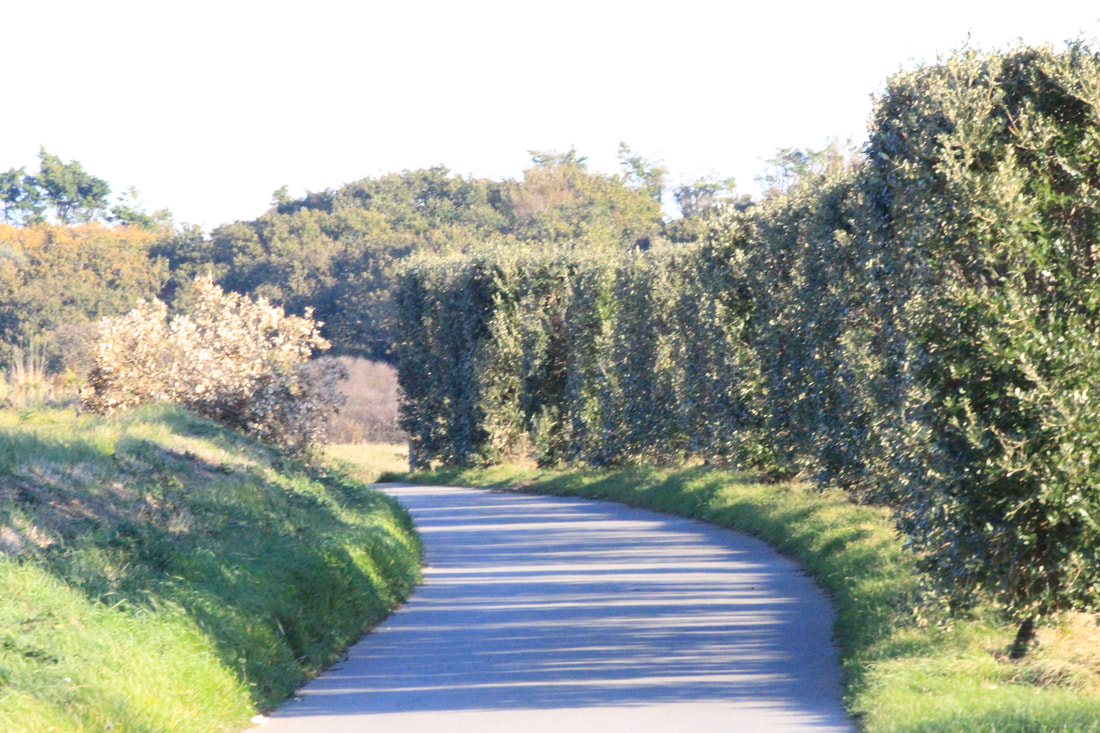
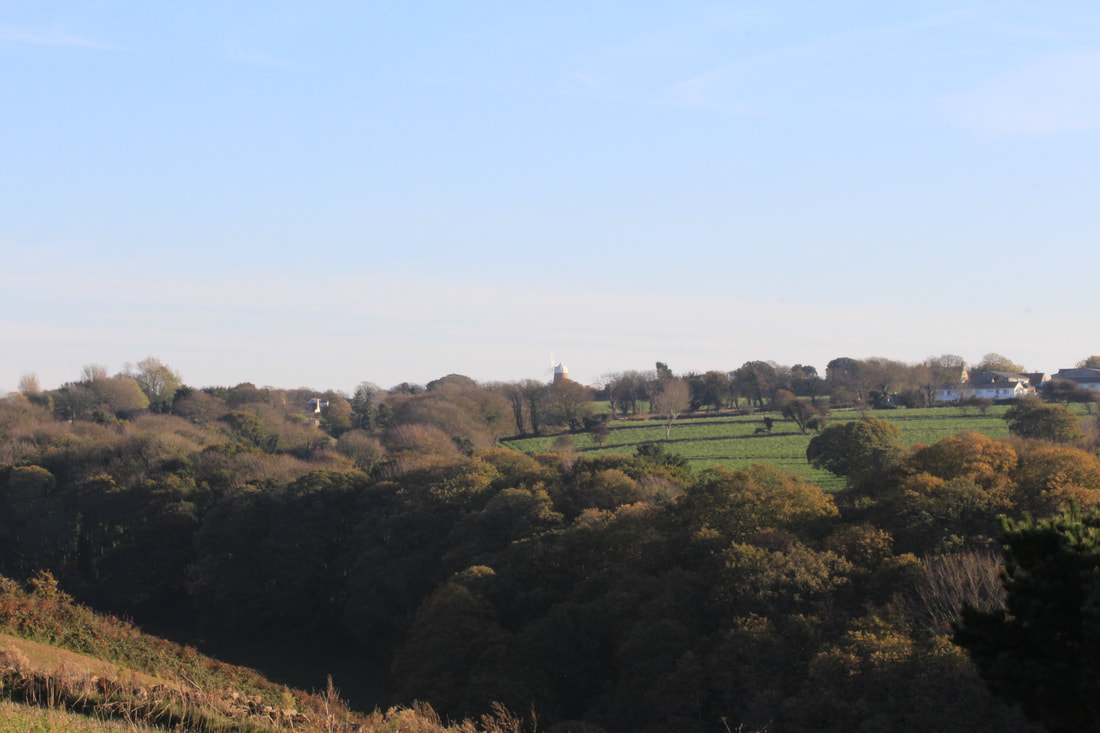
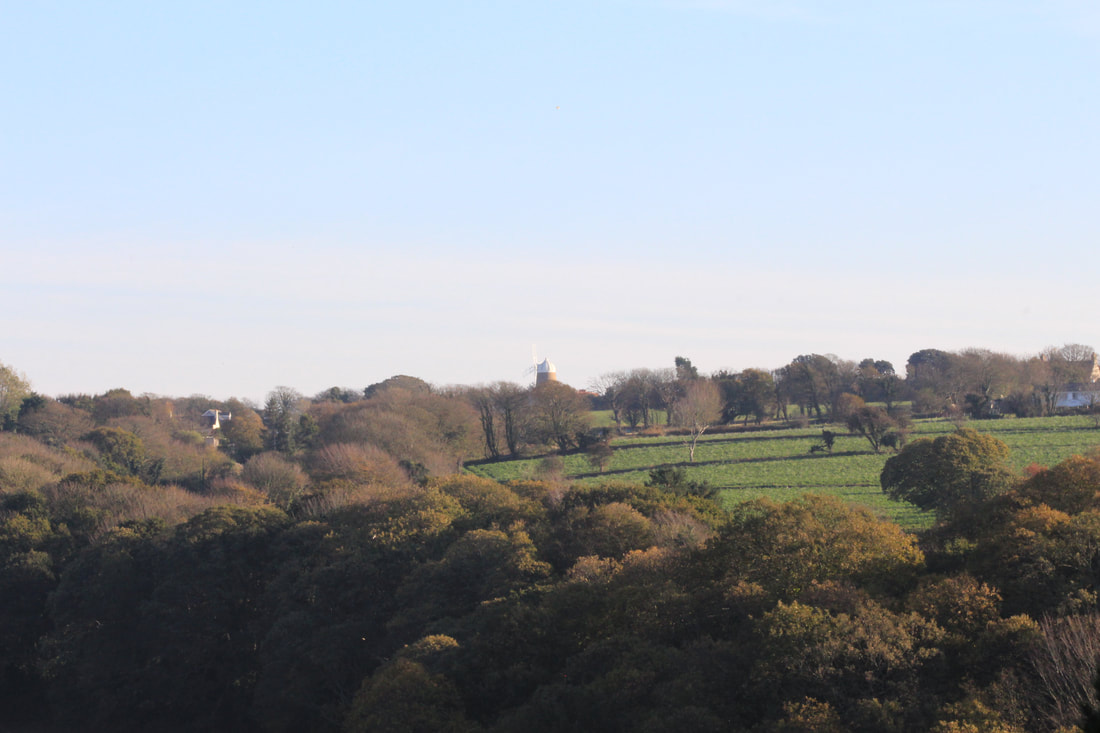
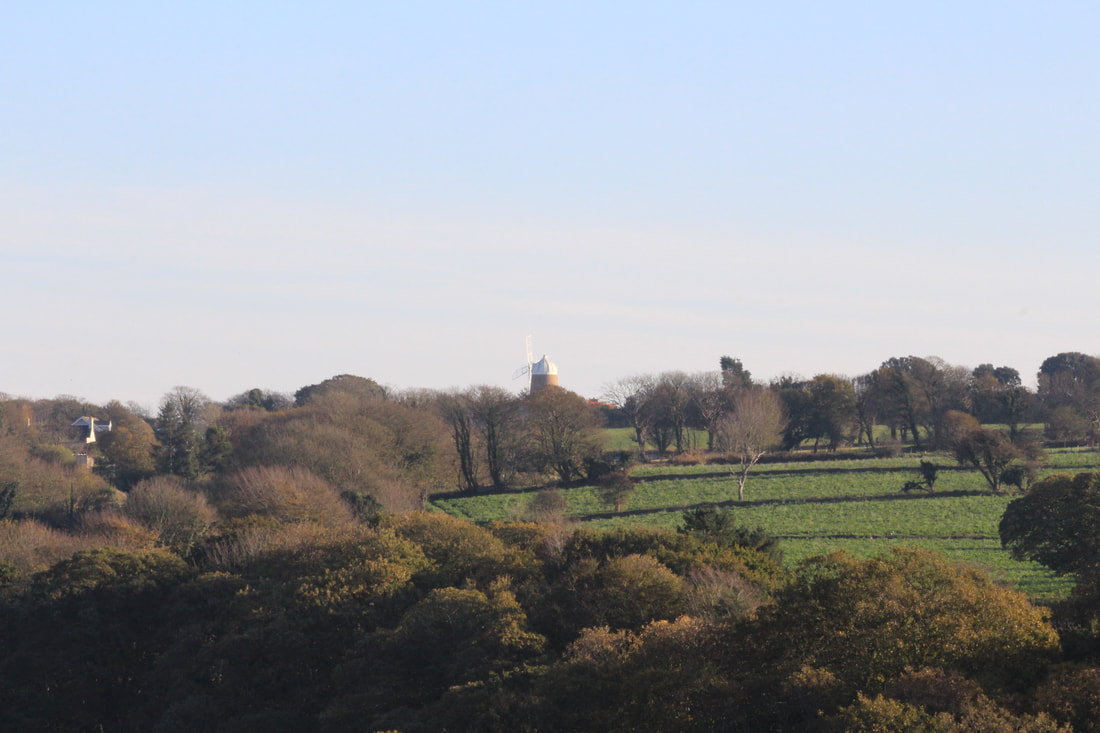
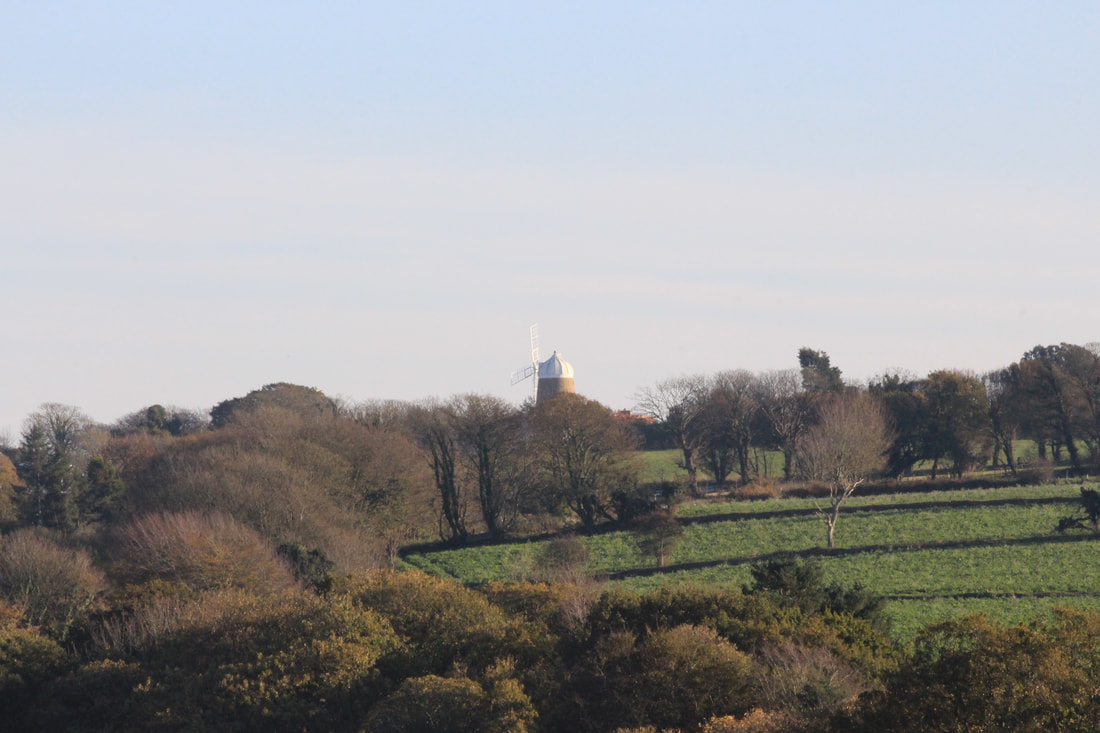
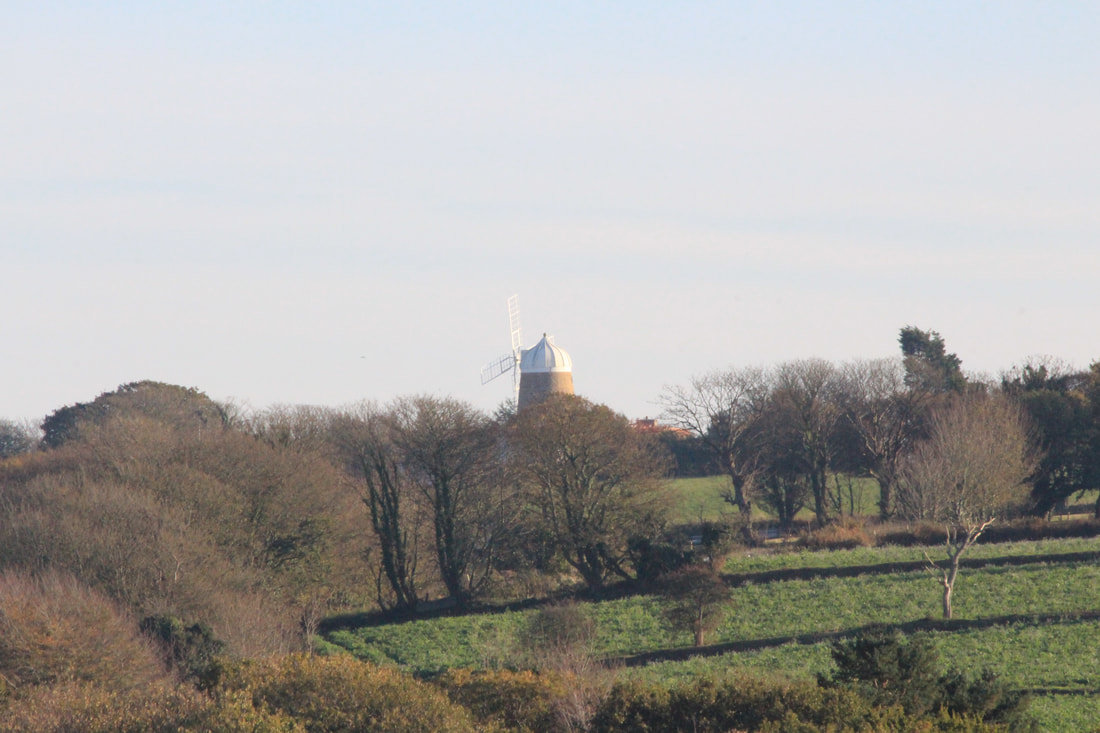
Set Two
|
Picture 1
f stop: f/29 Exposure: 1/125 ISO: 800 Focal length: 70 |
|
Picture 2
f stop: f/29 Exposure: 1/160 ISO: 1000 Focal length: 100 |
|
Picture 3
f stop: f/29 Exposure: 1/200 ISO: 1250 Focal length: 135 |
|
Picture 4
f stop: f/29 Exposure: 1/250 ISO: 1600 Focal length: 190 |
|
Picture 5
f stop: f/29 Exposure: 1/500 ISO: 3200 Focal length: 280 |
|
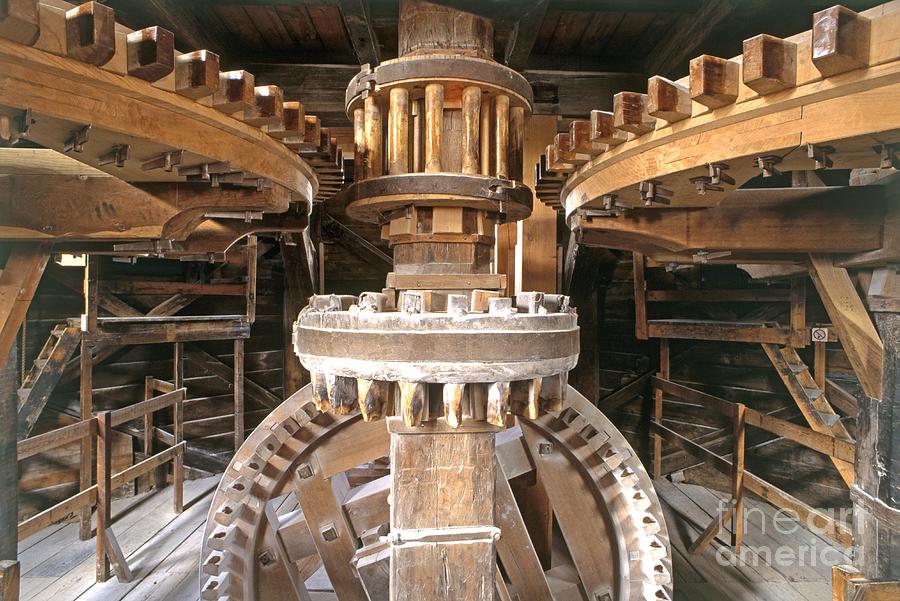
Final Image
I was tempted to go a bit obscure with this final image. I wanted it to be inside the windmill, as it is the next logical step with the progression of the zoom, however I initially thought maybe use cartoon characters. I decided in the end to go with factual and used this image by Dorling Kindersley. |
Review
These series of photos work better as there is a more natural focal point in the windmill, which helps emphasise the magnification through the different focal lengths.
These series of photos work better as there is a more natural focal point in the windmill, which helps emphasise the magnification through the different focal lengths.
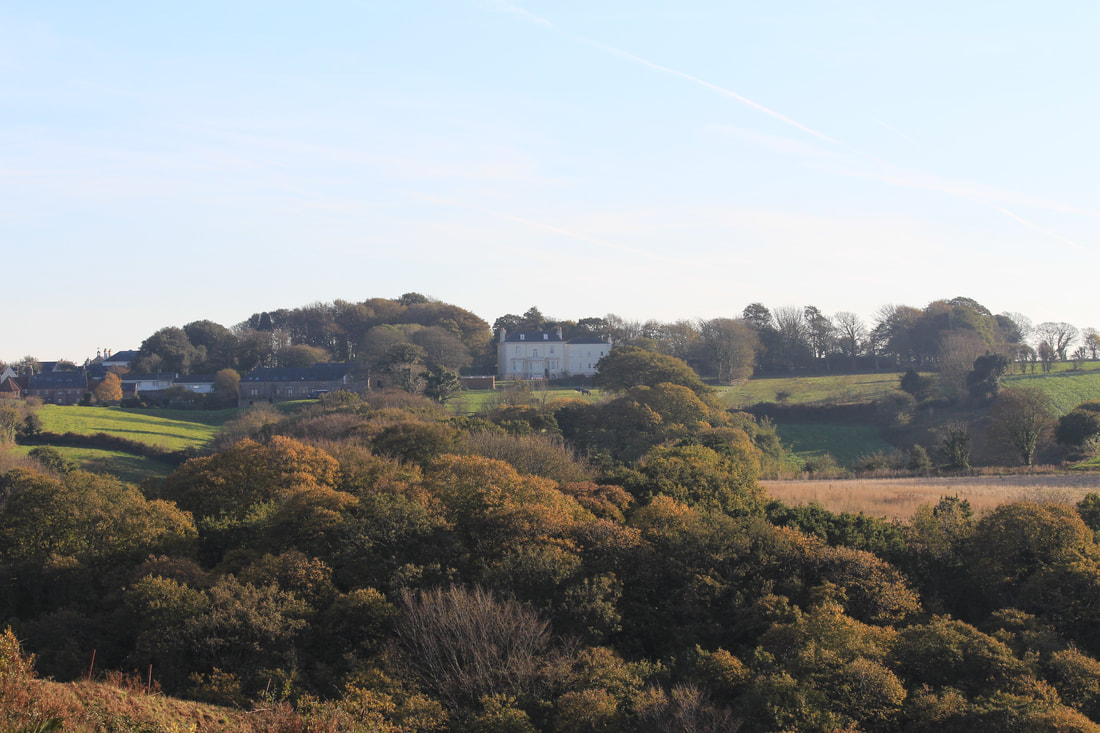
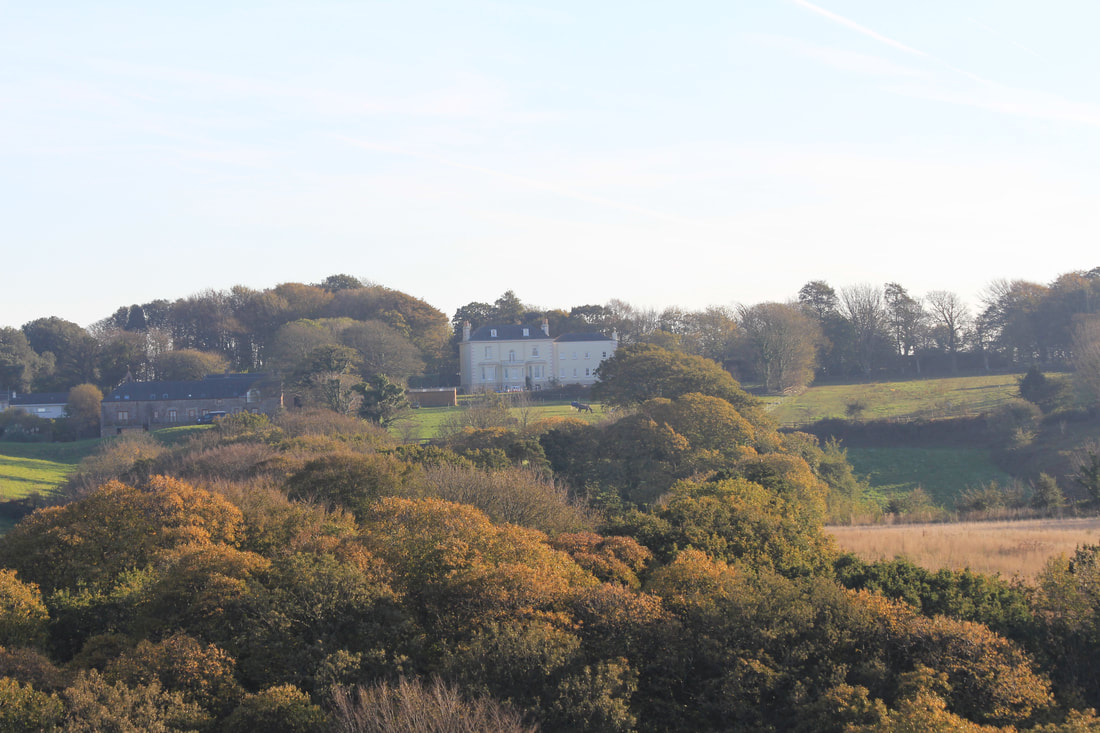
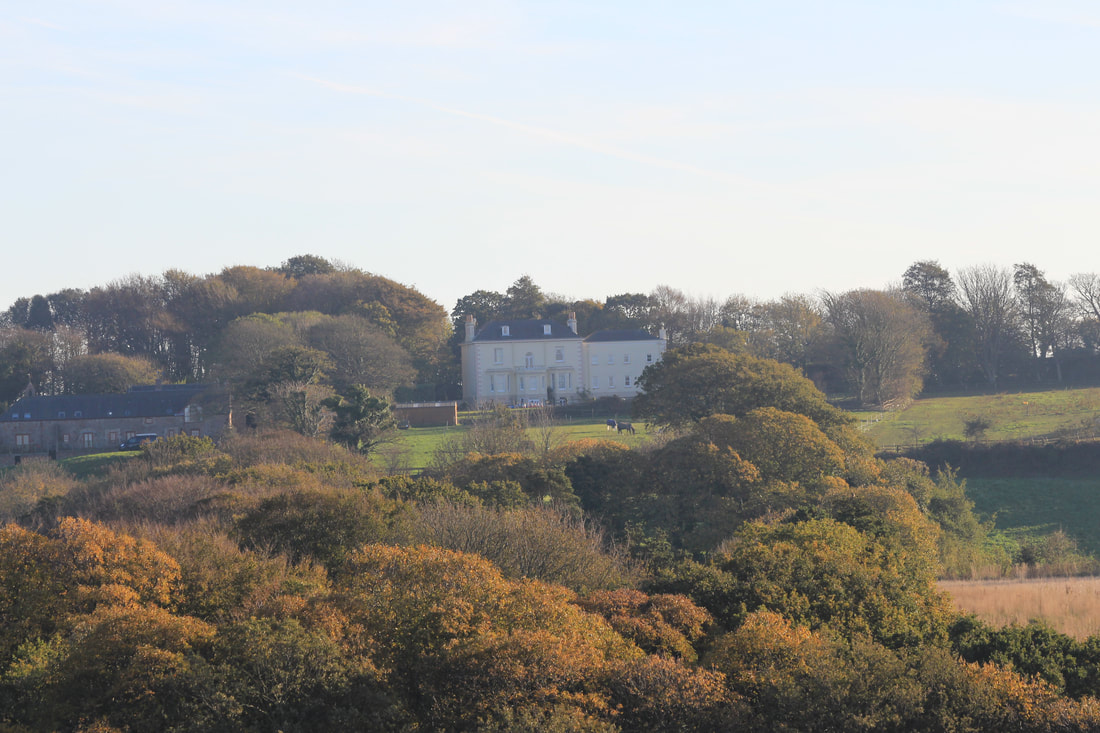
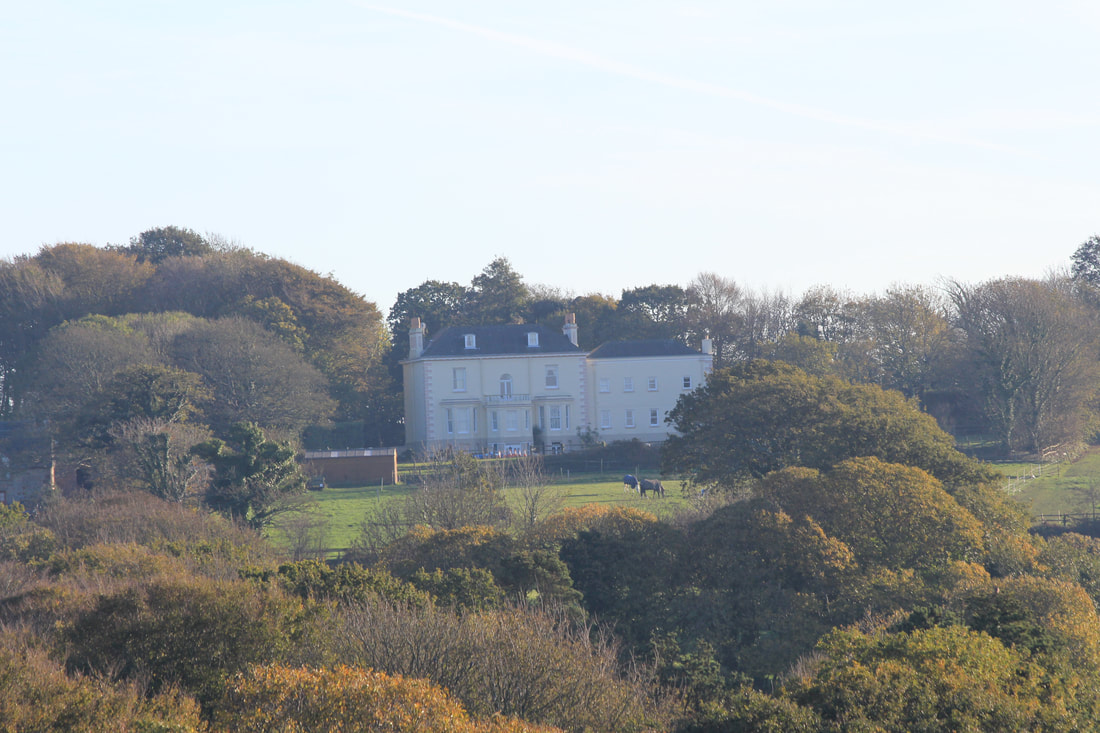
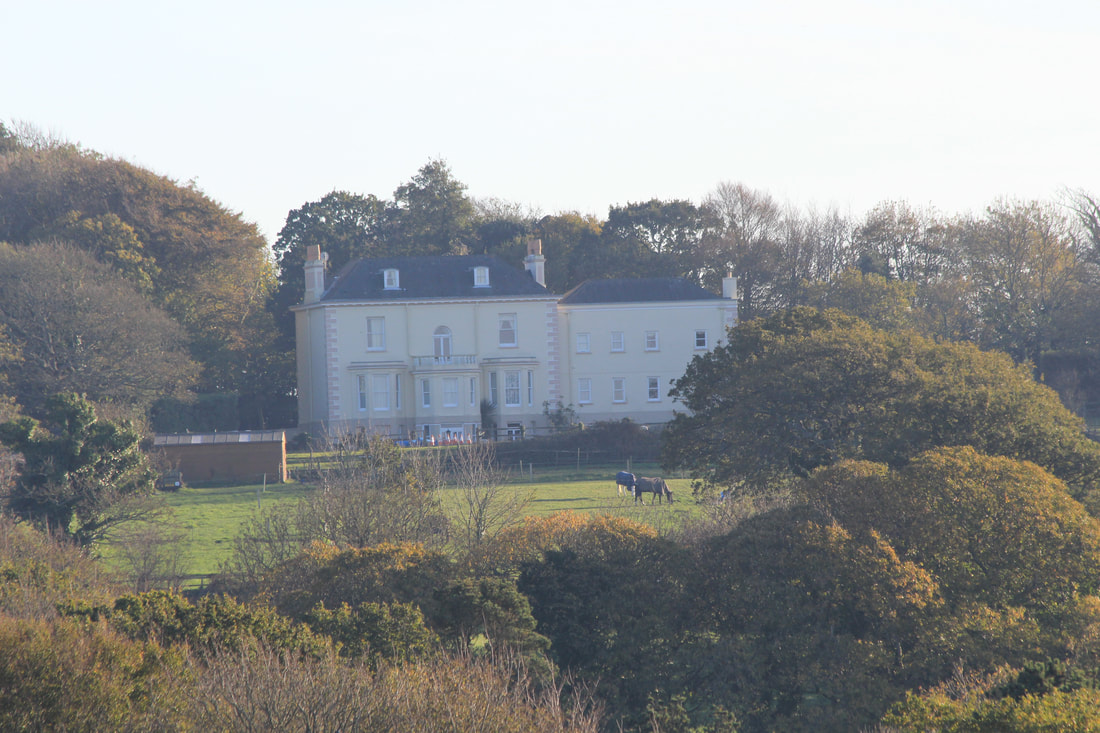
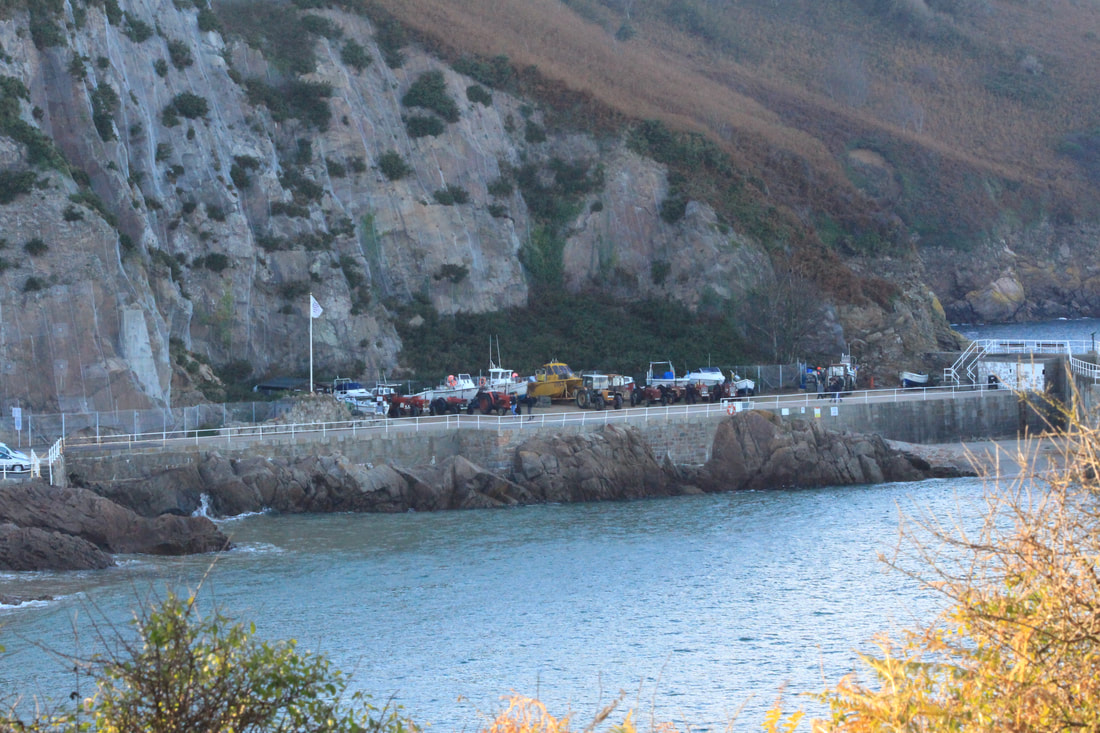
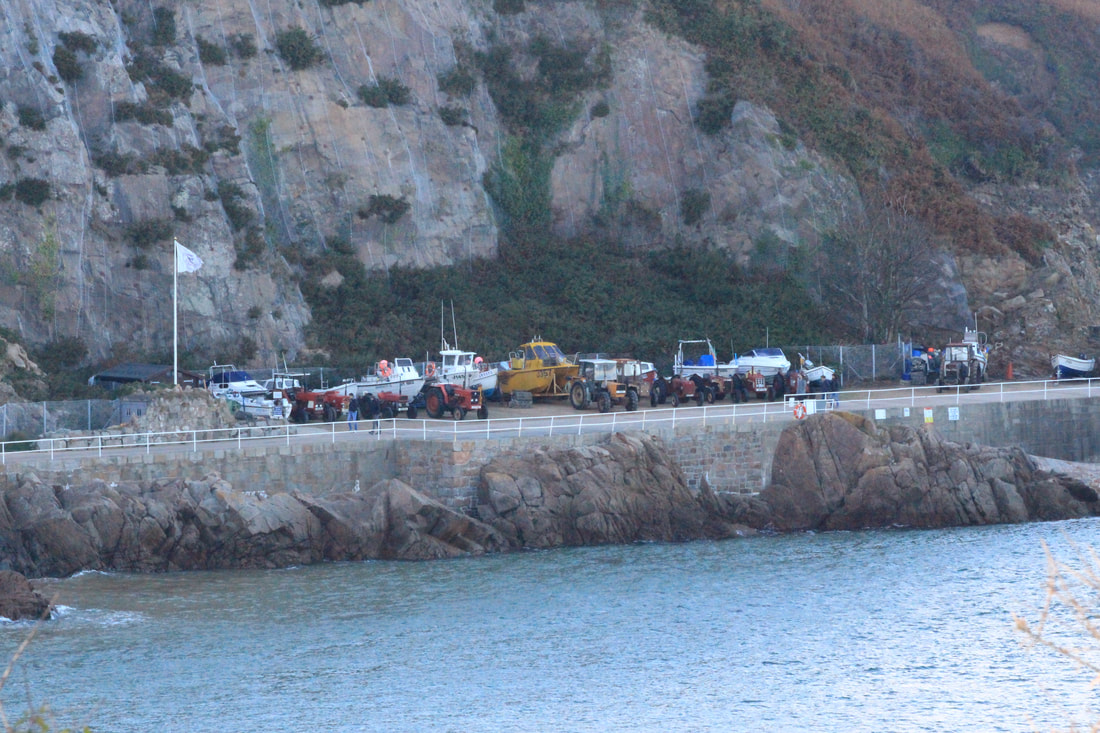
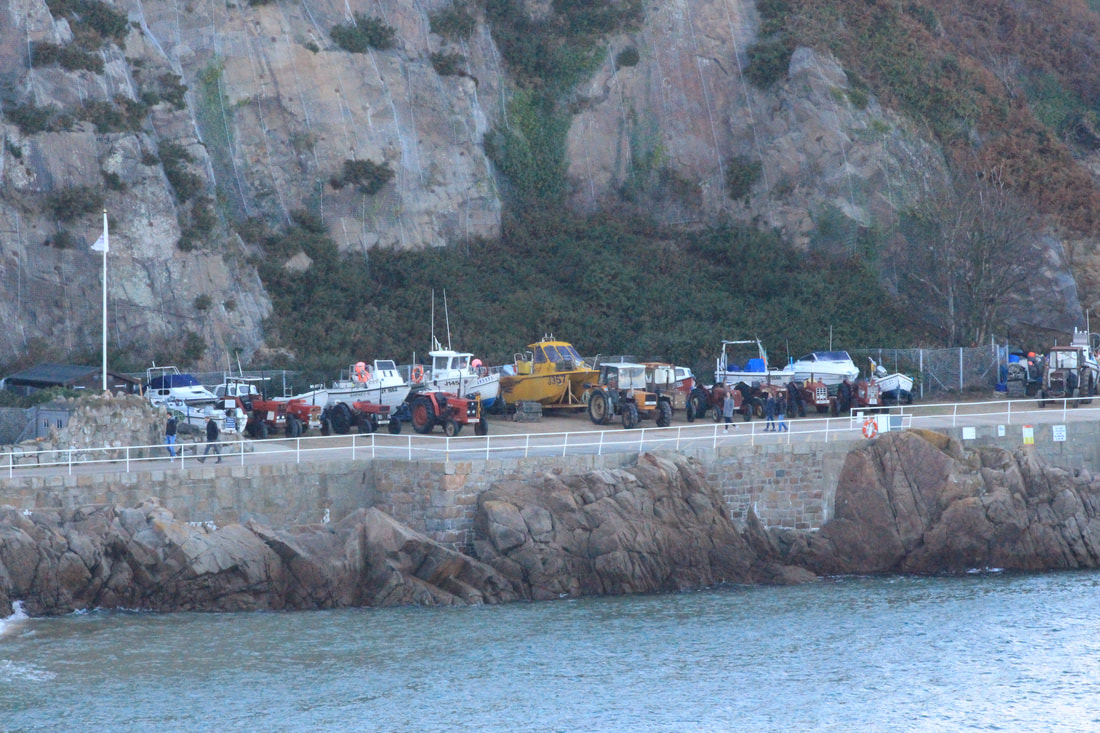
Set Three
|
Picture 1
f stop: f/9 Exposure: 1/125 ISO: 100 Focal length: 70 |
|
Picture 2
f stop: f/9 Exposure: 1/160 ISO: 125 Focal length: 100 |
|
Picture 3
f stop: f/9 Exposure: 1/250 ISO: 160 Focal length: 130 |
|
Picture 4
f stop: f/9 Exposure: 1/320 ISO: 250 Focal length: 200 |
|
Picture 5
f stop: f/9 Exposure: 1/400 ISO: 400 Focal length: 300 |
|
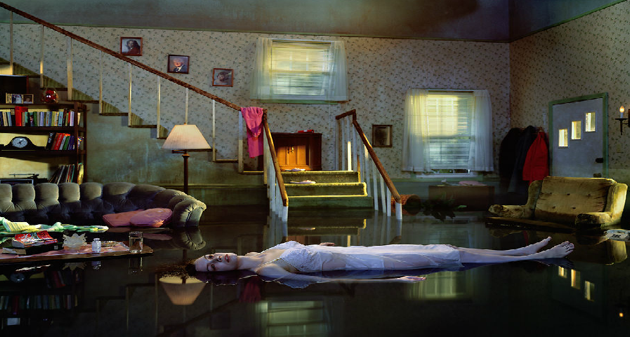
Final Image
On this occasion I did decide to go with my instinct of going a juxtaposition and the noir. To mis-quote Loyd Grossman, what goes on inside a house like this. The master of unease and noir is Gregory Crewdson. |
Review
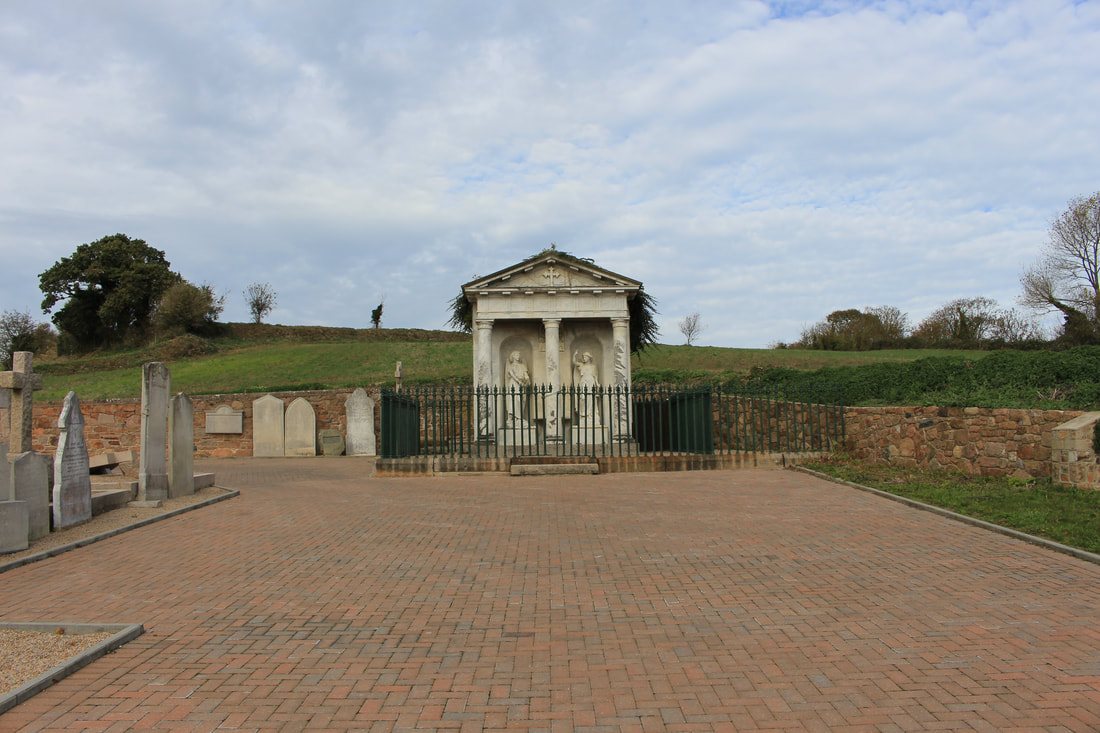
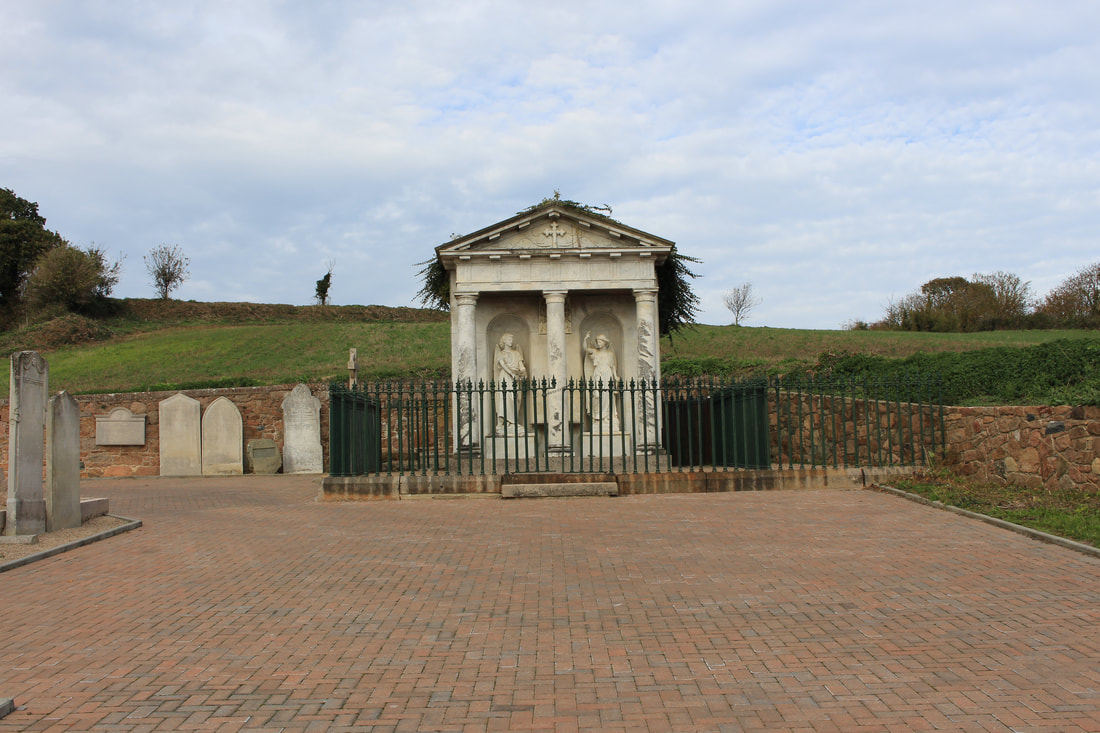
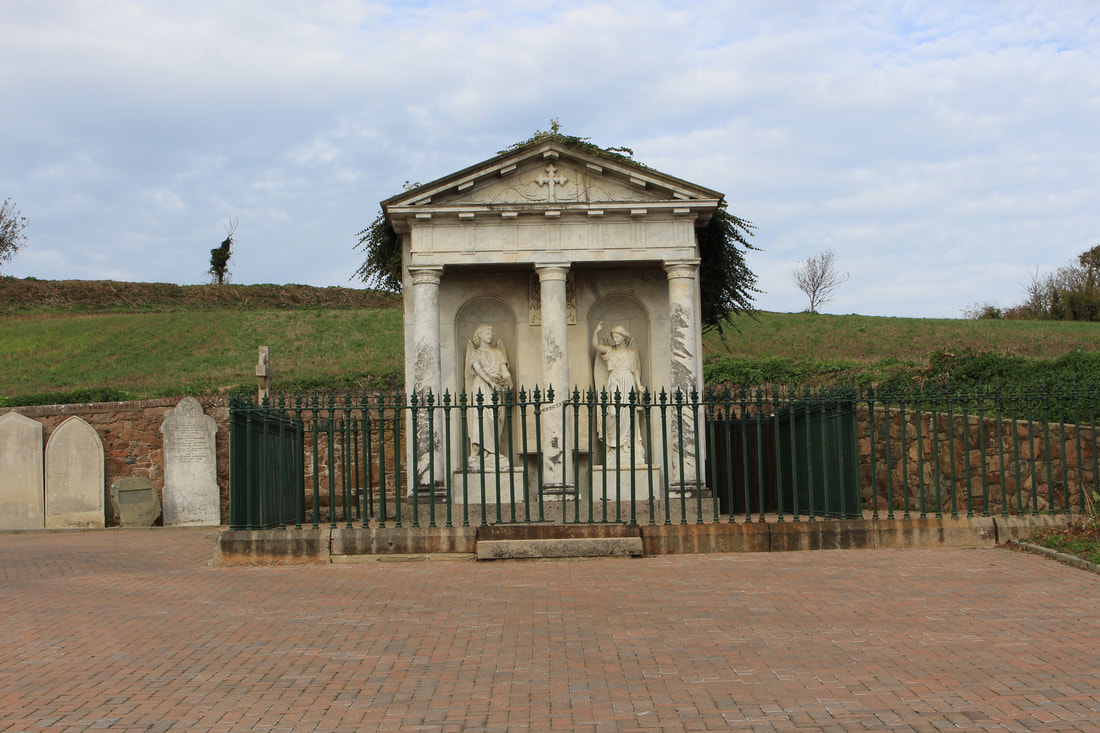
Again the house proves a good focal point in which to emphasise the magnification. There appears to be a direct correlation between the increase in focal length and the increase in overexposure.
Again the house proves a good focal point in which to emphasise the magnification. There appears to be a direct correlation between the increase in focal length and the increase in overexposure.
Set Four
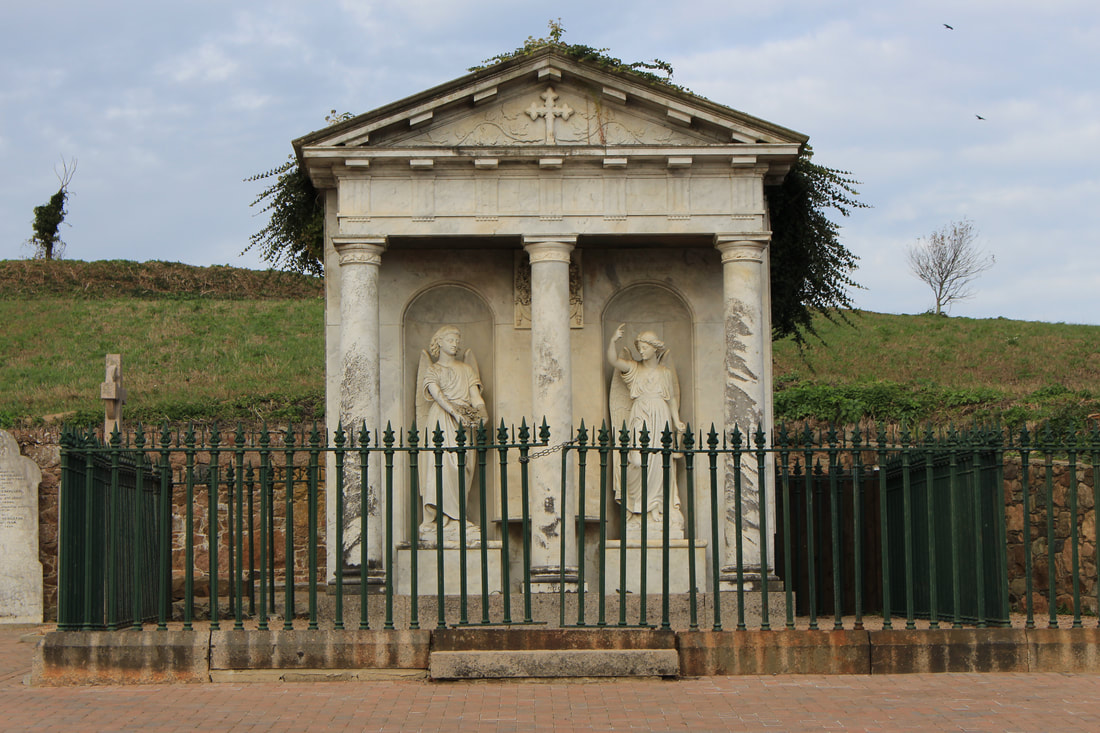
|
Picture 1
f stop: f/20 Exposure: 1/160 ISO: 3200 Focal length: 105mm |
|
Picture 2
f stop: f/20 Exposure: 1/250 ISO: 6400 Focal length: 160mm |
|
Picture 3
f stop: f/20 Exposure: 1/250 ISO: 6400 Focal length: 190mm |
|
Picture 4
f stop: f/20 Exposure: 1/200 ISO: 6400 Focal length: 300mm |
Set Five
|
Picture 1
f stop: f/11 Exposure: 1/125 ISO: 100 Focal length: 18mm |
|
Picture 2
f stop: f/11 Exposure: 1/100 ISO: 100 Focal length: 24mm |
|
Picture 3
f stop: f/11 Exposure: 1/100 ISO: 100 Focal length: 35mm |
|
Picture 4
f stop: f/11 Exposure: 1/125 ISO: 100 Focal length: 35mm |
Review
The only set out of the exercise using the 18-55mm lens. This was taken on a different day and at different time of day than the first four sets, however I note that the ISO across the photos in this set did not change. It would be good to understand why.
The only set out of the exercise using the 18-55mm lens. This was taken on a different day and at different time of day than the first four sets, however I note that the ISO across the photos in this set did not change. It would be good to understand why.
